The Rear Bed Platform: A Progression
The Background Story:
Our bed platform has gone through a few variations over the years to get to where we are today. Our very first trip with the van we just had an air mattress which of course started deflating halfway through the night. It quickly became apparent that we would need a more solid structure, so we started with some plywood and 2x4s along with some cardboard to template out the space. The wooden bed structure was really great and it allowed us to carry plenty of gear under a nice sleeping platform. After years of tried and true service we wanted to upgrade to a metal platform idea I had which would give us more space along with some storage/support systems. Here’s the story of our bed progression along with the CAD file for our current aluminum bed structure.


Mr. Duke checking out everyone shredding from the initial wood bed platform on a Winter Hoodoo camping trip for a day and night of skiing. PRO TIP: Pre made burritos warm nicely on the propane fire pit!!! ;-)
Part 1: Nothing: Just Get Out There
We picked up the Ford E350 Quigley 4x4 passenger van now know as The Yeti at the end of January 2016 and immediately planned our first trip for mid-February to get on the road and start to feel out our needs for the van. We pulled out the rear passenger seats and threw a bunch of our camping gear into some plastic bins along with a cooler and air mattress before setting south for Sunset Cove, OR. The weather was traditionally wet for the PNW in February, so we also borrowed a pop up tent to offer some kind of covered cooking/eating area.
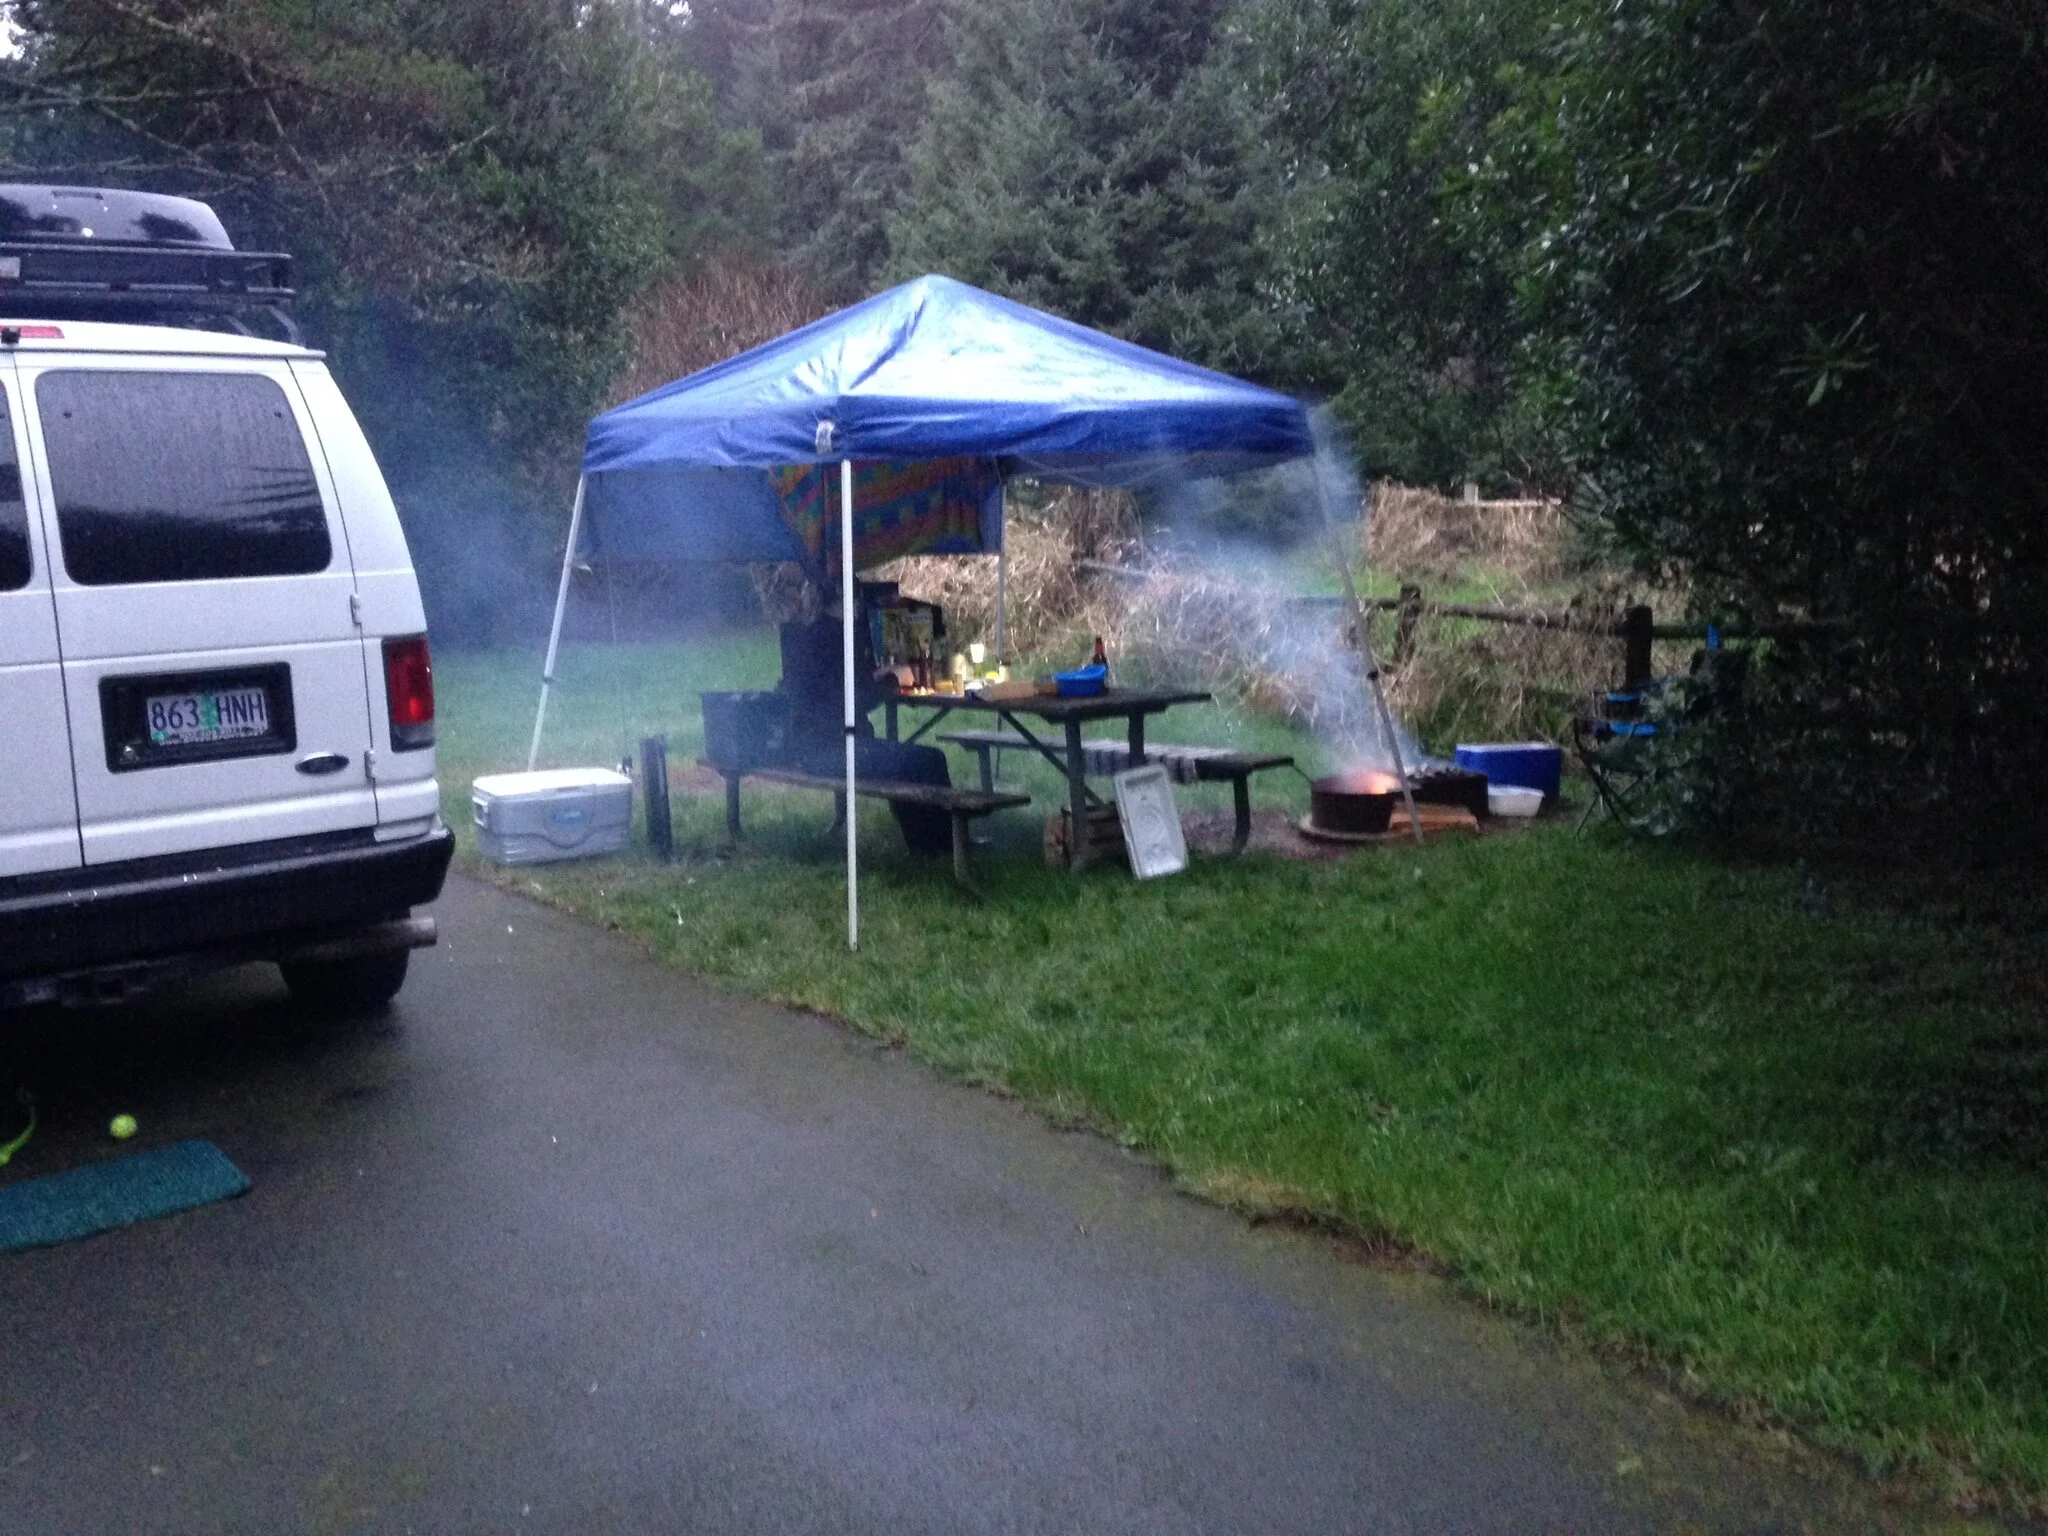
Our first camping trip in the van at Sunset Cove, OR. The last photo of the canopy standing before the storm rolled through later that night.
The queen air mattress was a near perfect fit in the back of the fan, but it did take up a substantial amount of space because of the thickness and bulkiness of the mattress. The plastic storage bins made for a nice table and kept the gear in order which is a necessity in my mind. Duke’s bed took up even more of the floor space, so once we were all tucked in it was a tight fit with the whole family. Duke tore his CCL while playing in the surf and was not the most happy camper. Normally he will hop in bed with us, but his pain was bothering him so much we gave him a nice comfy corner to sleep and rest on the ride home.
The pop up canopy offered us seem protection during the first day, but when we woke in the morning after a squeaky night of rolling around on the air mattress found that the weight of the water collected on top of the canopy brought it to its knees. Our enthusiasm like our flat air mattress was feeling a bit deflated, but without the experience we wouldn’t know where to go with the build. Sunset Cove was still a great first experience camping in the van and we walked away with a better understanding of our build direction.
Part 2: Wood, Screws, & Angle Brackets: The Basic Beginnings

The 1/8” plywood base to mount the wood framed bed platform.
After our first trip we put an emphasis on building out a comfortable bed platform to allow for a better use of space for both gear storage and sleeping. I knew there would still be improvements made to our overall build, so we didn’t permanently mount anything to the van body. Instead I made an 1/8“ thick plywood platform base that followed the interior body lines and stained it to offer some weather protection for any spills etc.
After measuring the height of a few of our gear bins we used 2x4” framing to support our weight on the bed. The main portion of the bed deck was trimmed to fit within the interior body lines once again. In order to get the full queen bed length a piano hinge was used to attach an extension for our legs. The bed extension essentially folded toward the back to allow for more cabin space while not using the bed. To really stiffen up the frame we added some angle brackets to make it incredibly stable. Carriage bolts and wing nuts were used to connect the plywood platforms with the 2x4 framing.

The good ole’ Coleman cooler fit with a spare inch or two of clearance. We made sure to have the same clearances for our other gear bins.
This new wood platform was a huge improvement to our camp set up and was a much more efficient use of space. We used this platform for many years and it served us well for all our camping needs. Morgan or I could both set up our bed in just a few minutes wether in the middle of a winter storm, on the beach, or in a friends driveway for a few days. We left the access open from the front and the back just for ease of access and for any longer gear.
After years of use, we were starting to see room for improvement of our bed platform and of course as we spent more time getting to know the whole “overland” idea we got to know about more off-road vehicle gear and systems. The wood platform did work, but the lost space on either side from the 2x4” framing which was actually a few cubic feet of space, in fact more cubic space than our water supply we normally carry.
Part 3: THE FINAL BUILD: Aluminum Construction with Integrated System Compartments
With our years of camping along with my unbending out on all the epic overland gear available we were set on creating a permanent bed frame that would also utilize lost space behind body panels and from the previous wood frame support structure. In the process of this new bed frame build we were also planned on integrating our electric, heat, and refrigeration systems.
To start this process everything was removed from the back of the van including the plastic body panels. The vision was to have the heat and electrical system over each of the wheel wells with enough clearance underneath the platform to allow for a fridge on a slide. We would also continue to use the underbid storage for all of our various gear.
I began the thought process with a bunch of large cardboard sheets to mock up a design. After a few hours of cutting cardboard and sketching on grid paper a physical cardboard mockup was complete. A number of factors were taken into account for the dimensions and layout of gear/systems that would be later installed. Some fo the key measurements taken into account was the refrigerator, battery, and diesel heater dimensions.
This newly mocked up design would be mounted to the body off the van using standard hardware with rivnuts impregnated into the metal structure behind the plastic interior panels. Rivnuts were strategically placed to try and keep some of the plastic panels complete for a smooth aesthetic finish. When drilling into the body or floor of the van I quickly learned to double and triple check to see what may be on the other side. There was a minor hiccup during the installation when I drilled through one of the coolant lines run to the back which seemed detrimental, but was quickly and easily fixed with some hose clamps and silicon tubing.
I took the cardboard mockup to a local metal shop in Eugene, OR and after a few weeks ended up with the completed product. After months of careful planning the aluminum pieces were finally in hand and installed as easily as expected. Although we didn’t immediately install the electrical and heating systems the space was still well used until occupied by the now much appreciated systems. The fridge slide is able to be oriented so it can be pulled back to the rear or slid into the interior cabin for accessibility.


FINAL THOUGHTS:
We are incredibly happy with where our build has ended up and after years of using our rig we’ve developed a design that allowed for a semi-permanent installation with additional operating systems that’s modular enough to remove the bed in a few minutes for larger gear or moving couches and large furniture around town. While the previous bed platforms never took away from our fun or options, the new bed platforms allows us more conveniences that we knew would make our travels easier and more comfortable.
If you are interested in our bed platform design please feel free to reach out and we can share the PDF design files for you to use on your own van builds. DM us on Instagram or feel free to email jayatuttle@gmail.com to chat about the bed platform and anything “van life” related!! Below are also a few quick images of the design files if you just want to snag those. We hope that our experience will help others to get out an explore the great outdoors to make memories. Just remember, It’s not always about having the fanciest gear, but that whatever gets you on the trail is all you need. Happy Trails!!


